What would a VPN be, many people confuse that. Currently when it comes to the name of VPN, we are already thinking of a program to hide our IP so that it is possible to access that site or download something from the internet without being identified. But that’s not exactly what VPNs were created for.
In short, a VPN is a bridge between two networks. That is, through encryption these programs will allow you to perform the same activities you could do locally anywhere you wish.
However, not all VPN programs operate the same way. Some have the need to allow port forwarding. In the case of Wireguard, you saw having to release 51820. OpenVPN will need to release port 1194.
But if you don’t want to allow a single port on your router, or even your router doesn’t allow you to configure port forwarding, all is not lost.
Here comes Zeroteir a VPN distribution. This program requires neither basic configuration nor port forwarding.
All you need to do is install, accept this new device on the new network, and the rest is ready to use.
So now we can start installing our application.
First thing, we’re going to have to access the site:
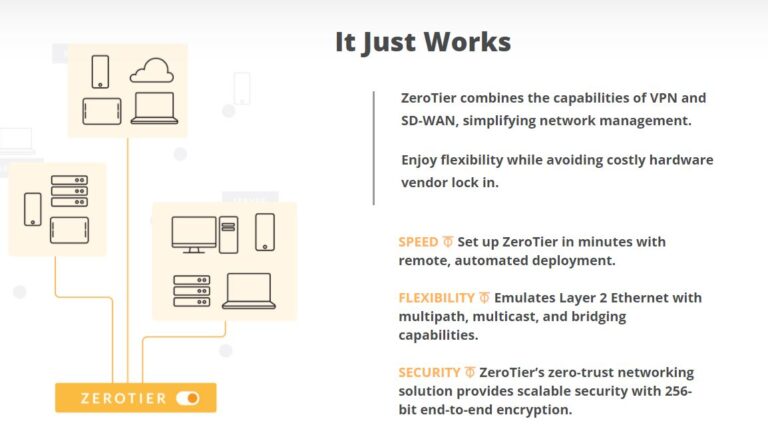
First, let’s see what Zerotier explains how it will work and what its advantages are:
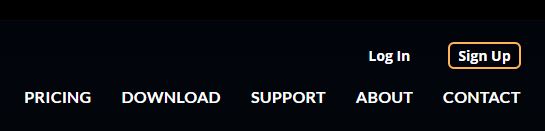
Now comes the time to do all the configuration. First you will need to access our account. For this you will have to go to the “Sign up” option
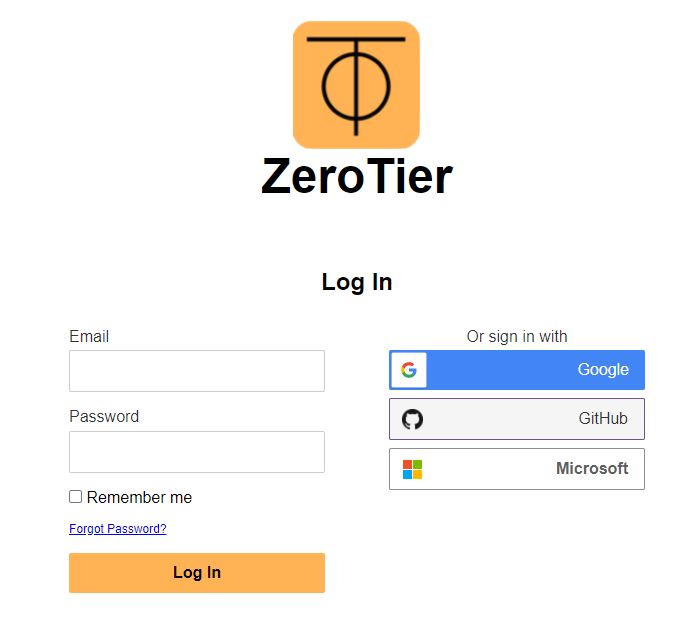
At this time, you can either sign in with the applications listed below or create an account using your own email.
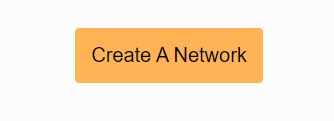
After you have logged in, you will have to create a network first. Só let’s choose “Create A Network”
Once your network is created, don’t forget to join your new network.

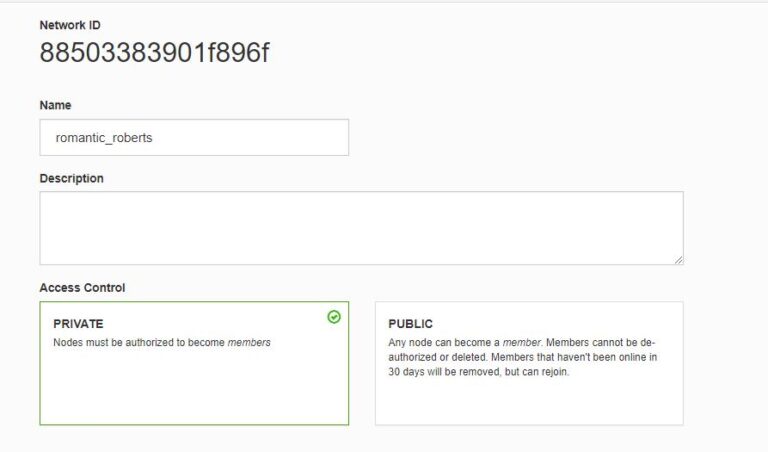
At this point you can define the name of your Network and add a description.
If you choose the Access Control Private option, you will have to authorize users before allowing them to connect to your network. If the case is Public, if anyone has the Network ID, they will be able to connect to your network, but if you stay more than 30 days without connecting to this network, this user will be automatically removed.
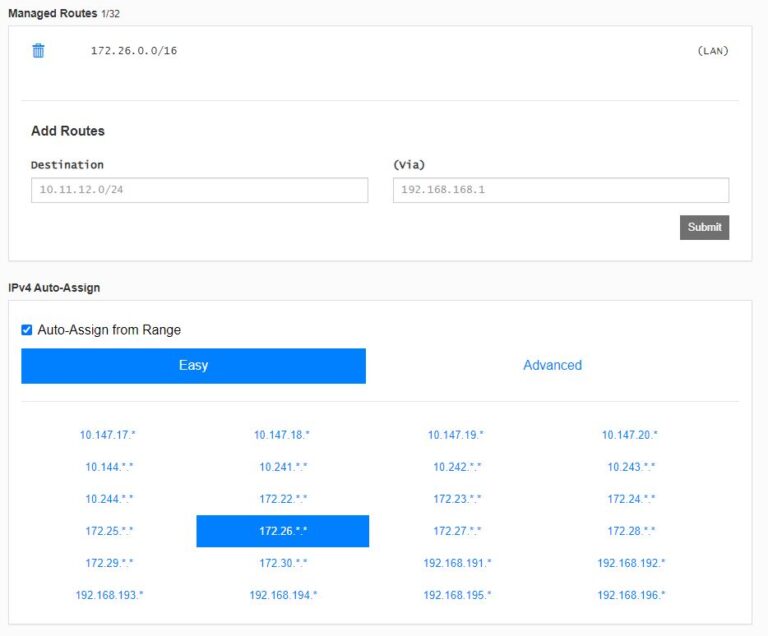
After that, you can configure the type of IPv4 that your network will be configured, this will be interesting to configure it only if you need it, otherwise you can leave it as it is.
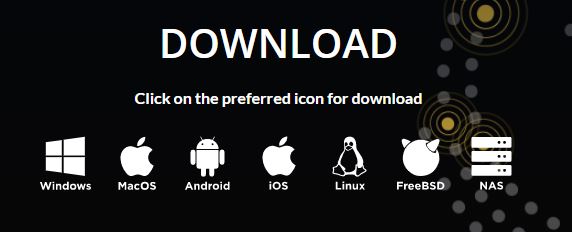
Having this first step set up, we can now go to the second step, install the application on your systems. To do this, you will first need to download the application on the desired architecture.
As always, I will explain how you can install it on Linux. To do this, you first have to install curl. To do this, use the code below:
sudo apt install curl
After that you will have to run the following to download the first settings.
curl -s https://install.zerotier.com | sudo bash
Now you need to run the following command to install GPG.
curl -s ‘https://raw.githubusercontent.com/zerotier/ZeroTierOne/master/doc/contact%40zerotier.com.gpg’ | gpg –import && \
if z=$(curl -s ‘https://install.zerotier.com/’ | gpg); then echo “$z” | sudo bash; fi
Finally, to connect to your network, you will have to run the following command:
sudo zerotier-cli join <network_id>
If you opted for the private network, don’t forget to press the new device’s access to your network.